Introduction
The Print Screen function has long been an essential tool for Windows users. With Windows 11, knowing where your screenshots are stored is crucial for effective management and organization. The Print Screen key enables users to capture images of their screens with ease, whether capturing the entire screen or a specific window. But after you capture a screenshot, where does it go? This comprehensive guide will unravel this, offering you insights into managing these files and alternative screenshot methods in Windows 11.
Understanding the Print Screen Function in Windows 11
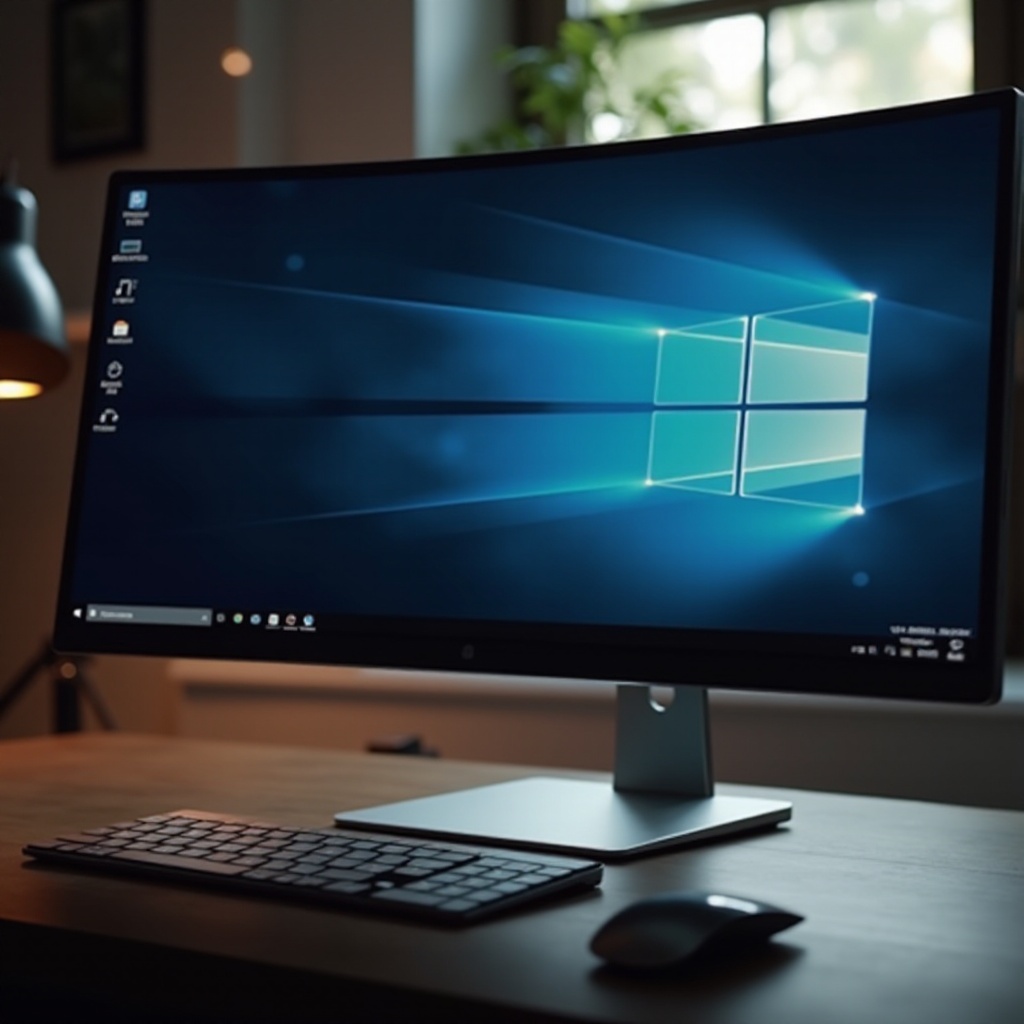
In Windows 11, the Print Screen function allows you to capture your entire screen or the active window efficiently without needing third-party tools. Simply pressing the ‘PrtScn’ key activates this process. For more targeted captures, pair the Print Screen key with ‘Alt’ for the active window or ‘Windows’ for auto-saving captures. However, once captured, locating where these screenshots are stored becomes vital.
Windows 11 streamlines this process by introducing features that help manage captures efficiently. Familiarizing yourself with these functions and settings aids in retrieving, organizing, and maximizing their utility.
Default Location for Print Screen Captures
By default, a screenshot taken using the Print Screen key is copied to your clipboard. This lets you paste the image directly into an application like Paint or Word. Yet, when employing the Windows + Print Screen shortcut, screenshots are automatically saved as image files.
Navigating to Your Screenshots
By default, images captured using these methods are stored in the ‘Screenshots’ folder within the ‘Pictures’ library. To locate them:
- Open File Explorer.
- Navigate to ‘This PC.
- Click on ‘Pictures.
- Open the ‘Screenshots’ folder.
This organizational system simplifies managing screenshots, ensuring that all automatic captures are centrally accessible. The system uses a naming convention with sequential numbering and timestamps for easy identification.
Using OneDrive for Screenshot Management
For those who favor cloud storage, Windows 11 offers a seamless way to integrate OneDrive for managing screenshots. OneDrive can auto-save screenshots, offering accessibility across devices and adding security to your images.
To set OneDrive as your screenshot destination:
- Open OneDrive settings by right-clicking the cloud icon in your taskbar.
- Navigate to the ‘Backup’ tab.
- Click on ‘Manage backup.
- Enable the ‘Screenshots’ option.
After configuring this, all screenshots will be uploaded to OneDrive in a dedicated ‘Screenshots’ folder. This feature is especially beneficial for users working across multiple devices who need instant access to their captures anywhere.

Alternative Methods for Capturing Screenshots
Beyond the traditional Print Screen method, Windows 11 provides advanced tools and shortcuts for capturing screenshots.
Snipping Tool and Snip & Sketch
The Snipping Tool and Snip & Sketch offer enhanced functions for selectively capturing screen areas. To use Snip & Sketch:
- Press Windows + Shift + S on your keyboard.
- Select the snipping type from the toolbar: Rectangular, Freeform, Window, or Fullscreen.
- Your captured snip is saved to the clipboard, allowing for further editing or saving in the Snip & Sketch app.
Mastering Keyboard Shortcuts
Advanced users can benefit from the diverse keyboard shortcuts provided by Windows 11 for enriched screenshot functionalities:
- Windows + PrtScn: Captures and saves the entire screen instantly.
- Alt + PrtScn: Captures the active window to the clipboard.
- Windows + Shift + S: Launches Snip & Sketch for various screenshot options.
By utilizing these alternate methods, users can enhance their screenshot experience, tailoring captures to specific needs with precision.
Customizing Your Screenshot Settings in Windows 11
Windows 11 provides options to customize where your screenshots are saved and how they are captured.
Changing the Default Save Location
For those managing a large number of images, changing where screenshots are saved can be crucial. Here’s how:
- Open the ‘Screenshots’ folder in ‘Pictures.
- Right-click inside the folder and select ‘Properties.
- Navigate to the ‘Location’ tab.
- Click ‘Move,’ then choose your new destination folder.
This adaptability helps organize your screenshots according to your preference, enhancing your workflow.
Integrating Third-Party Tools
For users seeking enhanced capabilities, third-party tools like Snagit or LightShot can be integrated. These applications provide advanced features such as annotation and direct sharing, extending Windows 11’s native capabilities.
Troubleshooting Common Screenshot Issues
From time to time, users may encounter issues related to screenshots. Understanding and troubleshooting common problems can streamline your experience.
Resolving Missing Screenshots
If your screenshots appear missing, first check the clipboard if you only used the Print Screen key. Another common hurdle includes inconsistent shortcut outcomes, possibly due to conflicting applications or incorrect key sequences.
Verifying System Settings and Permissions
Should screenshots not save to your designated folder, confirming permission settings is essential. Adjustments to system settings, particularly after updates or new installations, may resolve issues:
- Go to Settings > Privacy & Security.
- Check ‘Screen capture’ permissions under App permissions.
Being thorough in verifying settings ensures alignment with your preferences and addresses potential conflicts.
Conclusion
Windows 11 offers a wide array of options for capturing and managing screenshots, fitting the needs of both personal and professional users. With various methods and settings available, you can customize your screenshot experience to enhance productivity and organization. Whether opting for OneDrive integration, third-party tools, or utilizing default settings, being knowledgeable allows you to fully harness these features.
Frequently Asked Questions
How can I change the default folder for screenshots in Windows 11?
Navigate to File Explorer, right-click on the ‘Screenshots’ folder under ‘Pictures,’ select ‘Properties,’ then ‘Location,’ and click ‘Move’ to choose a new folder.
Why are my screenshots not showing up in the Pictures folder?
Verify if they are automatically saved to OneDrive or lost due to system settings. You may need to check clipboard activity if using the Print Screen key alone.
Can I automatically save screenshots to a cloud service like OneDrive?
Yes, you can set OneDrive to save screenshots automatically. Access OneDrive settings, go to the ‘Backup’ tab, and enable the screenshot option for instant uploads.